Wednesday, October 9, 2013

USS Constitution - The Bowsprit

At this point, the build starts to be more and more interesting. From this stage, the main focus will be on the masts and partial static rigging. This post will cover the assembly of the bowsprit.

Preparing the Bowsprit

Most of the pieces for the bowsprit are made of beige plastic, which, unfortunately for me, had a lot of casting problems (extra material, holes, etc.).


So the first step was cleaning the extra plastic, and filling the holes with putty.


For easier handling, I glued first the two halves of bowsprit and only then stared to clean it. Ideally, the two halves must be straight, however, they were bent and I needed to straighten them while gluing, and keep them in the right position. After the glue dried, I assembled the bowsprit cleats, before painting.


After all the pieces were cleaned...


... it was time for painting them.


Assembling the Bowsprit

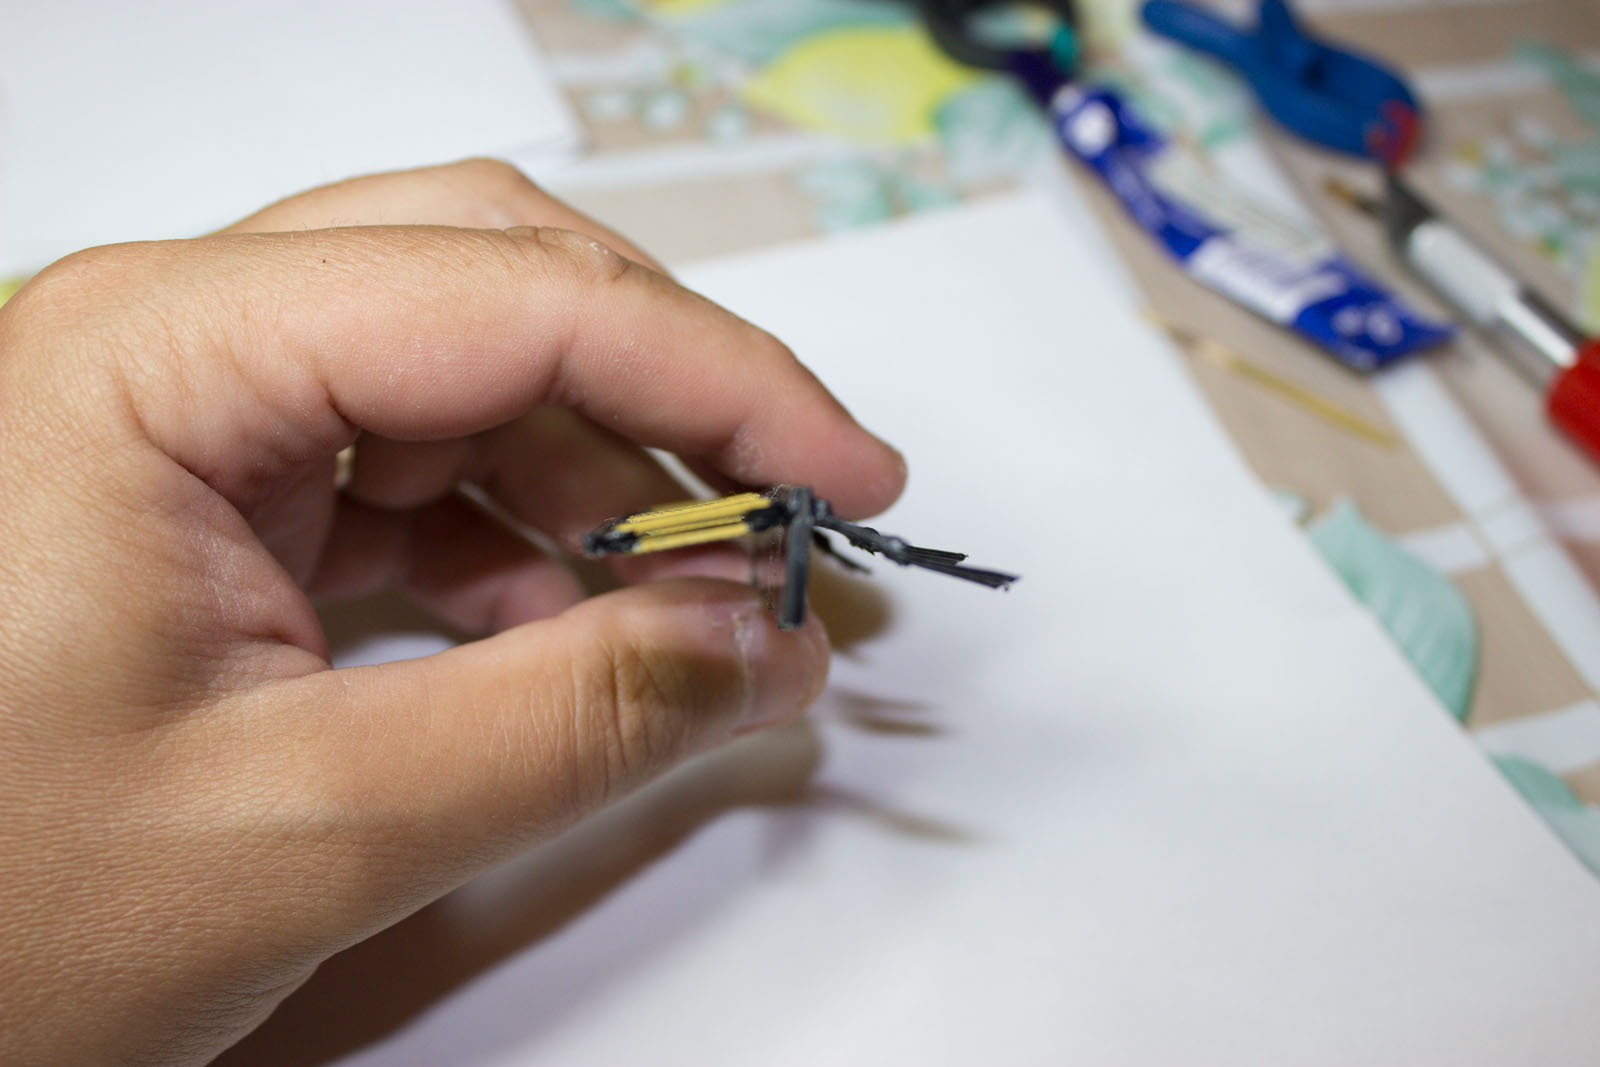
At this stage, with all the pieces prepared, I started to build the bowsprit without assembling it on the ship yet, allowing me a more convenient handling.

I started with two more eyebolts glued on the dolphin striker:


... and then gluing the dolphin striker on the main bowsprit


... followed by jib-boom


... and then the flying jib-boom


Mounting the Bowsprit

I decided to mount the bowsprit on the ship before gluing the sail yard and performing the structural rigging, to avoid damaging the assembly. I knew that fitting the bow in the designated hole might require some convincing force and hole adjustments, which actually happened.


Having the bowsprit in place, I sealed the finished the assembly by mounting the bowsprit box


... and the final look before some structural rigging


Minimal Structural Rigging

There are several threads that need placing at this stage, to tighten the structure. I started taking care of the ropes that secured the jib-boom to the bowsprit. Using the small diameter thread, I made several loops around the two pieces, having them tensioned by attaching some weight, and then dropping some glue to secure the loops. Finally, I made some knots, secured with glue, too, and, once everything dried, I cut the excess threads off.


Next step was to mount the sprit sail yard, and rig it to the spritbow. I used the same procedure (making the loops, tensioning them using weights, drop glue, making final knots and then cutting the excess threads off the knots).


The final look on bowsprit small riggs:


Gammoning the Bowsprit

For gammoning I needed to use large diameter thread, extensively using tweezers to fit the threads through the small holes in head timbers and through the gammoning hole.


One of my favorite tool while rigging is (and will be) the one used to pull the thread through a needle. I know that from this moment on, I will have to use it a lot.


Before making the frapping turns, I tensioned the loops with weights and I secured them using glue.


Once the glue dried, I made the frapping turns and secured them with a double knot, glued.


Final Look on Bowsprit


Monday, October 7, 2013

USS Constitution - Mounting the Anchors

This post covers the assembly and rigging of the anchors. At the end I put some (I hope) nice pictures on the final assembly of the ship, at this stage.

Preparing the Anchors

There are two large anchors, each consisting of three parts: the anchor, the anchor stocks and the anchor shackles:


Lucky me, I didn't needed too much cleaning of the pieces, so I after small work I proceeded to painting


... and then to assembling


Mounting Boomkins

Before assembling the anchors, I glued the boomkins in their place.


Anchor Rigging

In an earlier phase, while assembling the hull, I left an anchor rope loose, to be used in later stages. It is now time to use it. First, I made a loop through the anchor shackle, and then I secured it using a small size thread:


Once the knots and loops were secured with glue, I could cut off the excess threads and finalize the link to the anchor rope.

The anchor has two additional points where it should be rigged: one on the cathead, and one on the hull, under the rails. I focused first on the cathead. For this, I made a knot at the middle of the thread, tying it to the anchor shackle


I tied the thread then to the cathead, and secured the knot with glue.


Same procedure on the other side of the ship:


Finally, I could make the rigging of the anchor to the hull. For this, I tied one end of the thread


... and then the other end taking care the anchor is in the proper position


... and doing the same on the other side


The Final Look


Monday, September 30, 2013

USS Constitution - Fixing Deadeyes and Channels on the Sides of the Ship

This post covers the assembly of the deadeyes and channels that will be linked to the rigging of the masts at a later stage.

Fixing more Eyebolts

Before assembling the deadeyes and channels, some additional eyebolts needed to be glued on the hull sides, together with a chesstree on each side (some holes needed adjustment first):


The chesstree before assembly...


... and in their right place on the hull...

Painting the deadeyes

There are three sets of deadeyes for each side of the hull. 


For easier handling, I started painting the ropes before cutting them off their supports in the kit


Mizzen Channel and Deadeyes

After clipping the deadeyes off their supports, I needed to clean them and remove the extra material remaining from the molding process. This was a delicate task, requiring some drilling to clean up the holes. The deadeyes have two or three pieces that needed to be glued together.


When gluing the two sides, special care is needed to preserve the side holes, where the mast static rigging need to pass through at a later stage.


Having the deadeyes halves glued together, it is time to prepare and glue the corresponding channels.


It is important, when gluing the deadeyes to the channels, to set the correspondence. Viewed from the side, the deadeye and the channel should form a V shape, as in the picture below.


The final built, ready to be assembled on the hull:


Before gluing it to the hull, make sure that the lower "legs"of the channels are in contact with the hull. Then add a drop of glue on the tip of each, to ensure the rigid fixing on the hull.


Main Channel and Deadeyes

I applied the same procedure for the main channel and deadeyes. Cleaning the deadeyes and gluing them together...


... cleaning the channels


... gluing the channels to the deadeyes


... adding eyebolt pads


... and assembling them on the hull


Fore channels and deadeyes


... additional help needed to keep the pieces in place while glue dried, due to the fact that the plastic pieces were not straight:


Final Look