Monday, July 29, 2013

USS Constitution - Preparing the Lifeboats

The following steps were performed while filling the time waiting for paint to dry. Since the life boats will be assembled only later, and there are no dependencies on other steps, I could start with them way before they will be needed.

There are seven lifeboats to be put on main deck. They are simple to assembly and to paint, as all of them are delivered in two pieces - the hull and the seats. Separate oars will be eventually put in each life boat.

As usual, some cleaning and deburring is required...


... and two coats of paint for hull, seats and oars:


glued together, they finally look like this:


The final touch - the eyebolts on some of the life boats that will be suspended later. Due to previous painting, I needed first to clean up the holes.


... and then glue the eyebolts.


Wednesday, July 24, 2013

USS Constitution - Assembling the Guns on Gun Deck

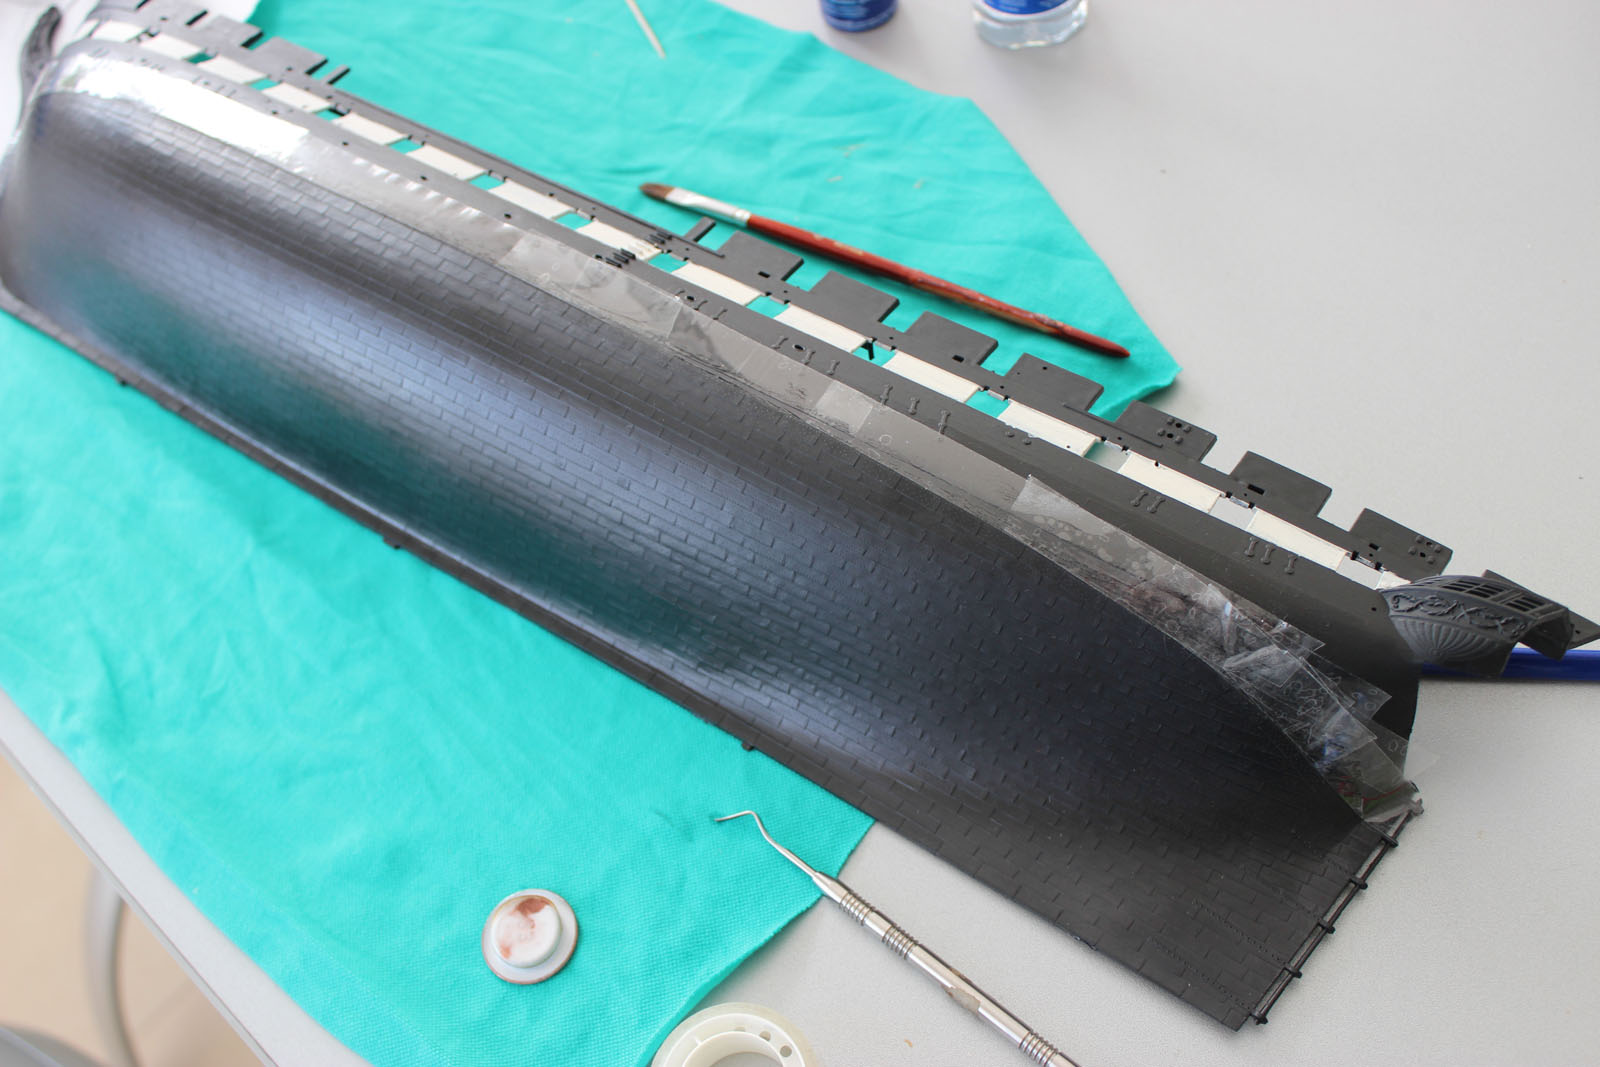
Deburring and painting the gunport covers was one of the first activities I performed when I started working on this kit, while waiting for other paints or glues to dry.

Basically, each of the 32 covers need deburring, painting, and then clearing the whole they have on one of the sides.


The clearing of the hole is important, because they require, in a later stage, rigging to the hull. I spent then some time to stick to each hole a  5 cm thread, with one knot, glued to the cover, to be prepared for later stage of assembly them on the hull:


Earlier, I presented the preparation of the guns (the barrels on their carriages). There are two kinds of gun, the larger ones being assembled on the gun deck.


Each of the 32 guns were glued on the deck. You can choose to put the guns in firing position, with the cover open and the barrel outside the hull, or in hold position, with the barrel inside the hull, with cover closed. After assembling the guns, I glued the covers in the desired positions and make sure the rigged threads are loose.

I chose the "aggressive" way, putting all the guns in firing position:


Finally, after the covers glue was completely dry, I took the loose ropes through the holes in the hull above the covers, and glued them inside.


The overview, with gun deck armed and the covers in position:


While waiting for the glued riggs to dry, I took care of the studding sail yards to be assembled on the gun deck. Tying two ropes...


... then gluing the yards on them


Final step, patience and time killer, was to rig the guns. There is a significant problem on the kit I encountered: they provide some sort of eyebolts on the inside of the hull, to knot or glue the rig on it. However, they are not very helpful, because they are not shaped as a ring, but more sticking outside, making it difficult to grip the thread on it. Basically, what I needed to to is to put a drop of glue on the eyebolt, keep the thread sticked there by hand until the glue is half dried and the thread can't loose, then wait for the glue to dry, then start again with the next barrel.


Thursday, July 18, 2013

USS Constitution - Getting the Shape of a Ship - Assembling the Hull

The easiest part was to paint and assembly the name plate.


However, the delicate operation was to assembly the hull sides and the gun deck at the same time. Remember, earlier I glued all three pieces of the gun deck together, in order to allow better alignment of the surfaces. To make matters even more complicated, the rudder needed to be assembled, too, at the same time.

I made countless trials first, to make sure the deck and the hull sides fit together and to find out how to assemble and secure them quickly, before the glue dries. For this I needed a second pair of hands for help, but eventually I did it. Unfortunately, to take pictures during the assembly process I needed a third pair of hands which was... unavailable. So I can show only the final result: the hull (and the gun deck below), sticked together with plenty of glue and a lot of pliers.


Special attention to the bow and stern, where the contact surfaces are larger, and the gluing could be more effective.


As mentioned earlier, the rudder needed to be assembled, too. According to the instructions, two ropes are tied on the tiller, then put through some gun deck holes. For the moment, the ropes should be packed. Later, they will be assembled on the steering wheel.


I know that the instructions tell to assembly each gun deck part separately, and not to glue them. Unfortunately, in case of this kit, it would be a mistake, because the pieces will not align properly.

And the final look on hull with gun deck in place:


What I am missing, again, is the set of pictures made while assembling the stern cabin, so unfortunately I have to skip that part.

Tuesday, July 16, 2013

USS Constitution - Preparing the Hull and Stern Cabin

The hull comes in two large pieces that need some finishing and, of course painting.

I started painting in black the wooden part of the hull. At this stage, I didn't apply any masking tape:


Second step was to paint the white stripe corresponding to the gun deck. This time I used tape for masking:


Next, painting the inboard:


I have to admit I made a small mistake here. While painting, some of the small holes were filled with paint. I forgot to clean all the holes, and during later stages of the assembly, I had to clean them while the parts were assembled, which was harder, since the holes were far less accessible.

After waiting one day to have the black paint completely dried, I started to prepare painting the plating on the hull sides. For masking, I needed to use a transparent tape that doesn't stick too much, so I didn't risk to peel the black painting applied earlier.


Unfortunately, it seems I lost the pictures with the fully painted hull sides.However, in the next few episodes, I will continue the assembly of the hull and gun deck, with photos of fully painted hull.

While waiting for the paint on the hull sides to dry, I focused on the gallery stern. First step was to apply a black paint on the entire surface, and then to paint the window frames:


... then I continued with the golden paint over the various details:


... only to find out that I need to use other colors for some of the details, so... more fun painting:


Eventually, I glued a piece of transparent plastic film for the windows glass:


Stern cabin pieces from the kit are the back, port and starboard bulkheads, starboard and port inner gallery walls, two bunks and one table. Since they are made from plastic, they needed some finishing attention, as usual


... and then, of course, painting, lots of it:


Monday, July 15, 2013

USS Constitution - Finalizing the Guns

After having the gun barrels painted and dried, it is time to prepare the gun carriage.

Once again, taking the carriage pieces and deburring them:


... painting them:


... and finally gluing the barrels to the carriages:


Friday, July 12, 2013

USS Constitution - Preparing the Gun Deck

The gun deck in this kit is delivered as three plastic pieces:


The assembly instructions recommend to handle each piece separately. However, considering my past experience with the same kit, I avoided this. The reason is very simple: the plastic pieces will not align well, and the deck will look broken. Considering this, I glued all three pieces together, so I can obtain one (almost) smooth deck.

I assumed that gluing only the small edge will not be resistant enough, so I glued some additional  plastic pieces on the back of the deck, for stronger bond:


To make sure the deck pieces are well aligned, I used some metal helpers on the upper side of the deck:


After waiting for the glue to dry, I applied the same process for the remaining deck part:


Next step was, of course, painting the upper side:


Thursday, July 11, 2013

USS Constitution - Preparing the Gun Barrels

The kit contains pieces for 55 guns, distributed on two decks.

First step was to deburre the halves of gun barrels. The two piles in the photo below are the resulted pieces:


The next step was to stick together the two halves:


... and the resulted gun barrels piled up:


After additional finishing, painting in a coat of black and waiting for the paint to dry.