Monday, September 30, 2013

USS Constitution - Fixing Deadeyes and Channels on the Sides of the Ship

This post covers the assembly of the deadeyes and channels that will be linked to the rigging of the masts at a later stage.

Fixing more Eyebolts

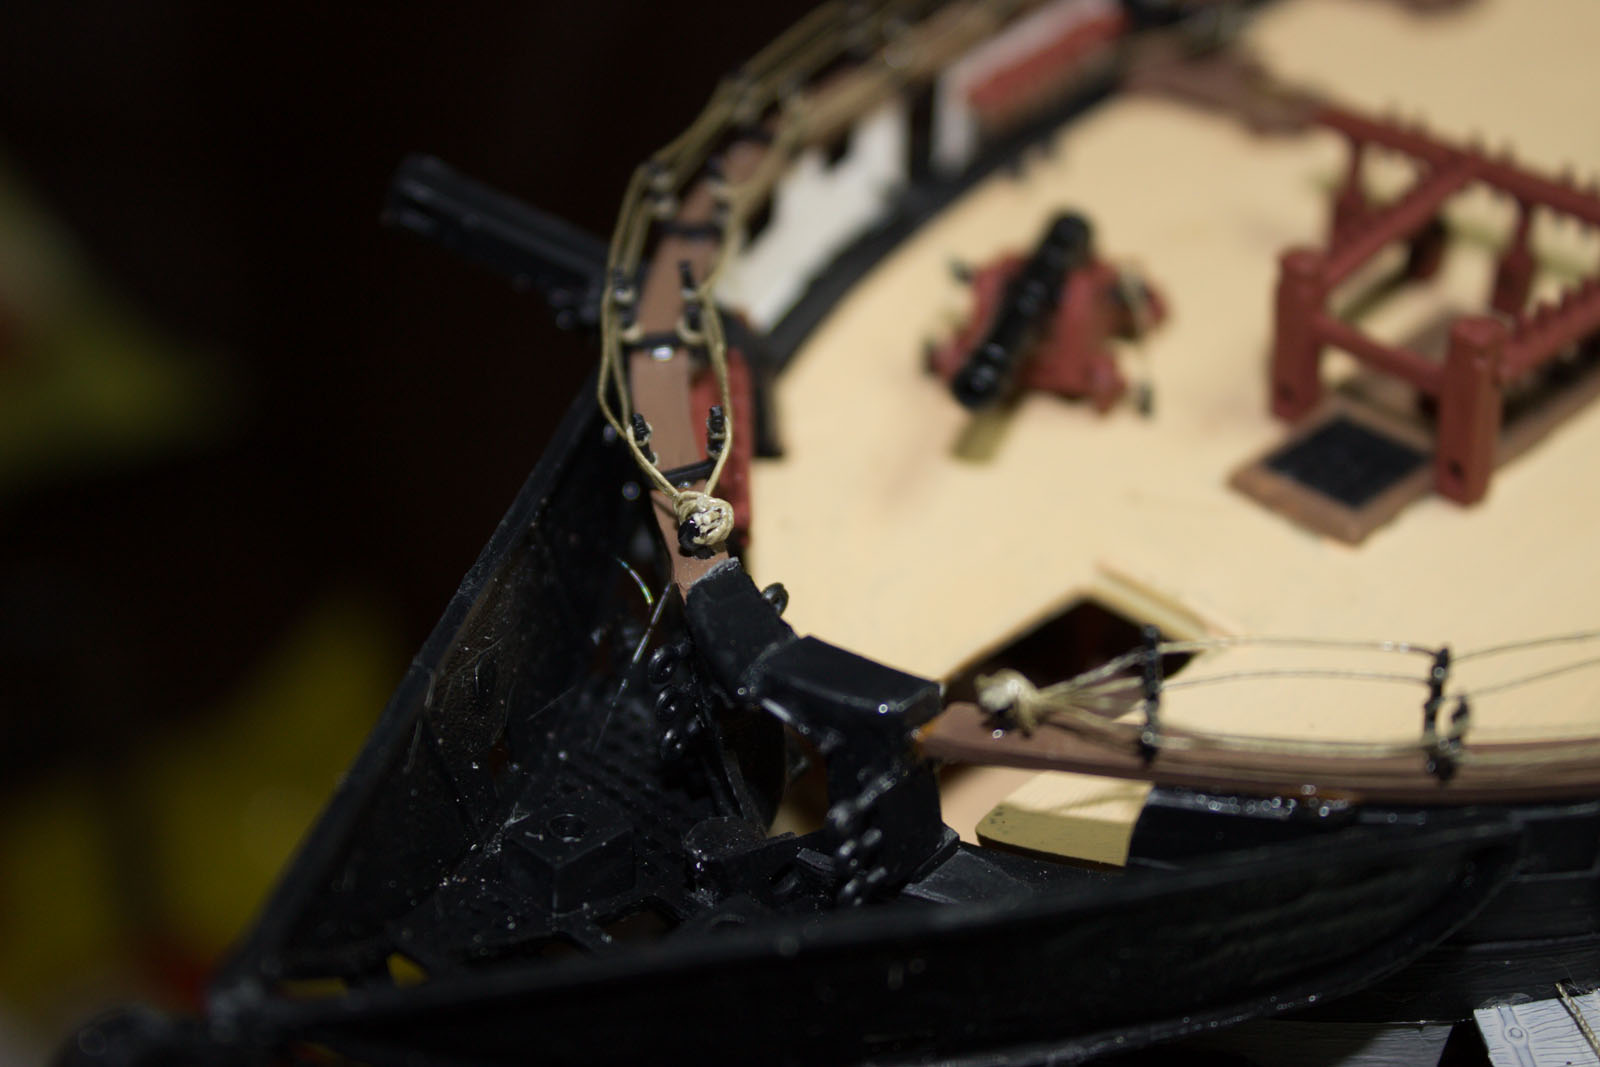
Before assembling the deadeyes and channels, some additional eyebolts needed to be glued on the hull sides, together with a chesstree on each side (some holes needed adjustment first):


The chesstree before assembly...


... and in their right place on the hull...

Painting the deadeyes

There are three sets of deadeyes for each side of the hull. 


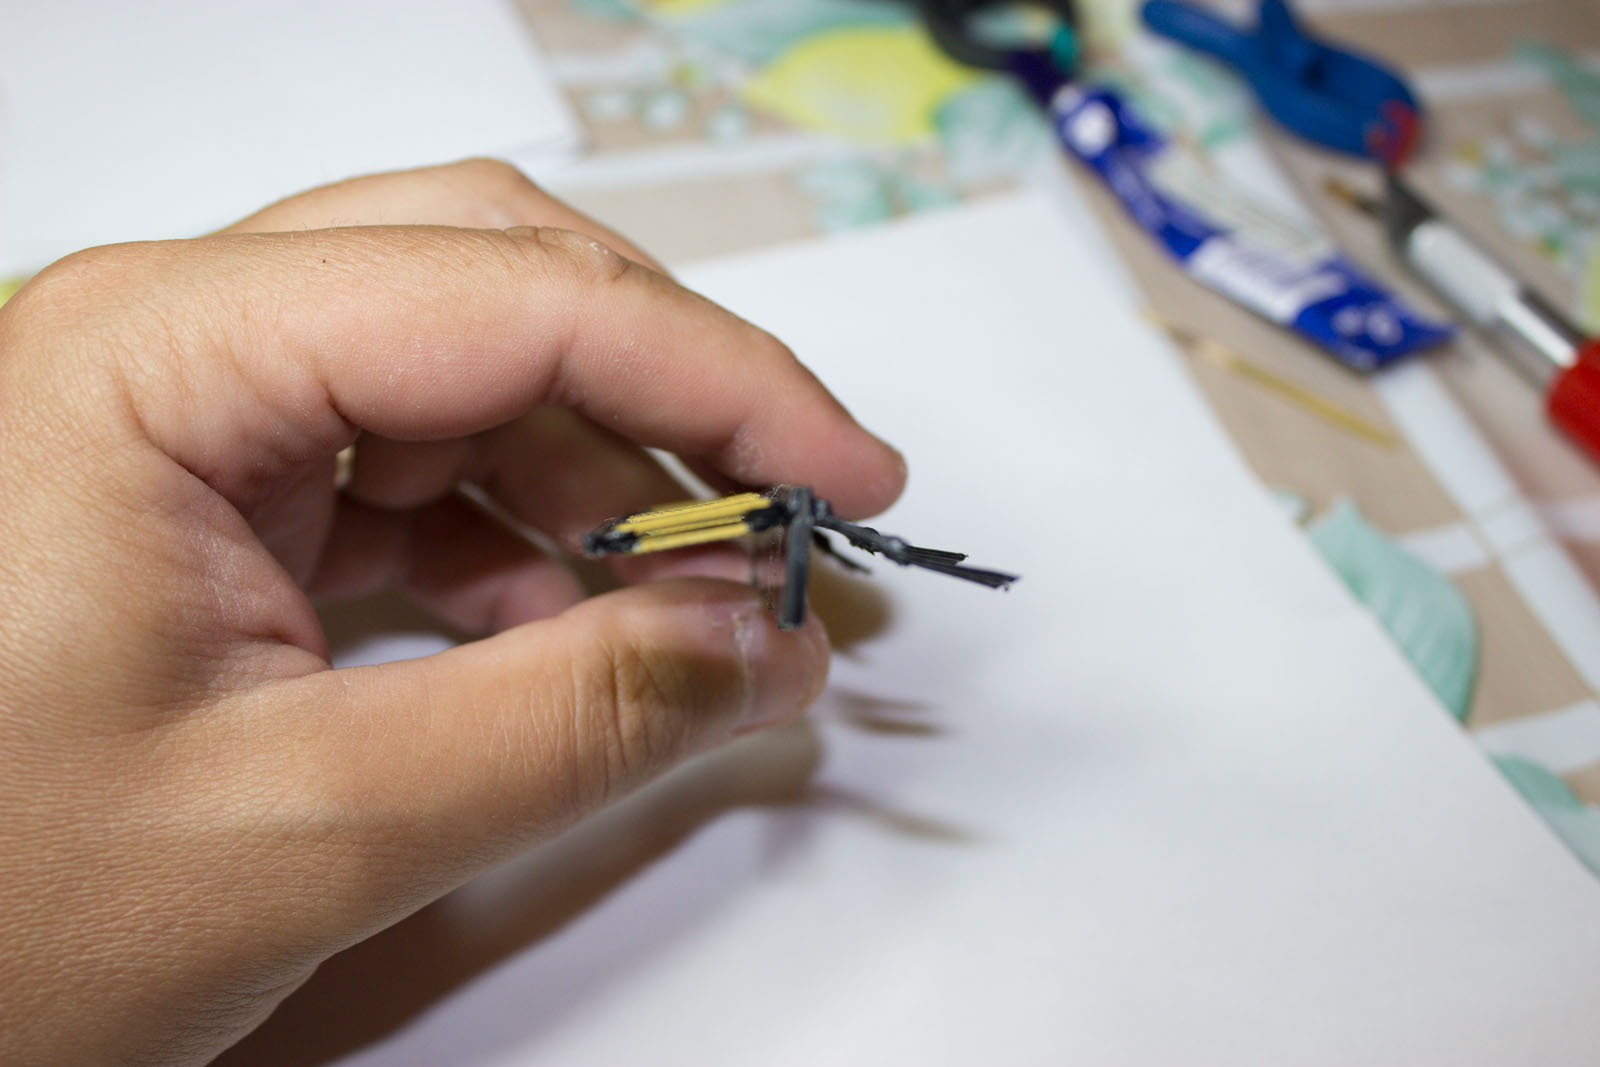
For easier handling, I started painting the ropes before cutting them off their supports in the kit


Mizzen Channel and Deadeyes

After clipping the deadeyes off their supports, I needed to clean them and remove the extra material remaining from the molding process. This was a delicate task, requiring some drilling to clean up the holes. The deadeyes have two or three pieces that needed to be glued together.


When gluing the two sides, special care is needed to preserve the side holes, where the mast static rigging need to pass through at a later stage.


Having the deadeyes halves glued together, it is time to prepare and glue the corresponding channels.


It is important, when gluing the deadeyes to the channels, to set the correspondence. Viewed from the side, the deadeye and the channel should form a V shape, as in the picture below.


The final built, ready to be assembled on the hull:


Before gluing it to the hull, make sure that the lower "legs"of the channels are in contact with the hull. Then add a drop of glue on the tip of each, to ensure the rigid fixing on the hull.


Main Channel and Deadeyes

I applied the same procedure for the main channel and deadeyes. Cleaning the deadeyes and gluing them together...


... cleaning the channels


... gluing the channels to the deadeyes


... adding eyebolt pads


... and assembling them on the hull


Fore channels and deadeyes


... additional help needed to keep the pieces in place while glue dried, due to the fact that the plastic pieces were not straight:


Final Look


Tuesday, September 17, 2013

USS Constitution - Finishing Lifeboats

This post contains the steps for assembling the lifeboats on their final position on the deck, having them previously prepared.

Assembly

In order to make it easier to make the knots, I started by setting the threads through the eyebolts on the side


... and then fixing the lifebolt under the thread, tightening the thread and making the final knot:


Same procedure for the rest of the lifeboats:


Final Look

After cutting the excess threads off from the knots, the final look of the ship with lifeboats:


Friday, September 13, 2013

USS Constitution - Forecastle and qarterdeck rails

In this post I will continue presenting the rails assembly. This time, the focus is on the bow and stern sides of the ship. The pieces and assembly procedures are different than in the case of amidship rails.

Quarterdeck and forecastle rails

Both quarterdeck and forecastle rails needed to be cleaned and painted before put in place:


Once prepared, I started to glue them into their position. Again, because they are long, thin and plastic made, they are pretty elastic so I had to keep them pressed while the glue dried:


Finally, the assembled rails looked just fine


Stanchions

There are 58 stanchions to be assembled.


Unfortunately for me, they needed some cleaning and small adjustments, in order to fit into the holes on forecastle and quarterdeck rails


Before assembling them, I had to make sure the holes in the rails are clean to fit the stanchions


... and then, I started to glue them


Overall, the ship looked like this:


Rigging the Stanchions

The final step, and the most delicate one, was rigging. It was more difficult than in the case of amidship rails, because the stanchions were easy to break with inappropriate thread tension, so I had to adapt my previous approach.

What I did was to make the initial knot, then a few loops, keep the thread tensioned, glue the loops, wait for drying, then continue with the next loops, until the last one. Some pictures from the process:


All the four threads from a rail section should end in an eyebolt. It is important to know that you should not knot each thread in the eyebolt, because it will prevent you to take all four threads through. I wasn't always lucky to be able to take all four easily through one eyebolt, so at some moment I had to improvise:


Final knot of all four threads in an eyebolt:


... and the rigging once the excess threads were cut off: